
# Reading a Tag
NOTE
A device with a camera and internet access is required to read a Tagger tag.
To get started with Tagger, just find a Tagger Tag and scan it. There are three easy ways to scan a tag using a phone or mobile device:
- Use the camera app on a cell phone.
- Use the Chrome web browser on a mobile device.
- Use a dedicated QR Code reading app.
# Using the Camera
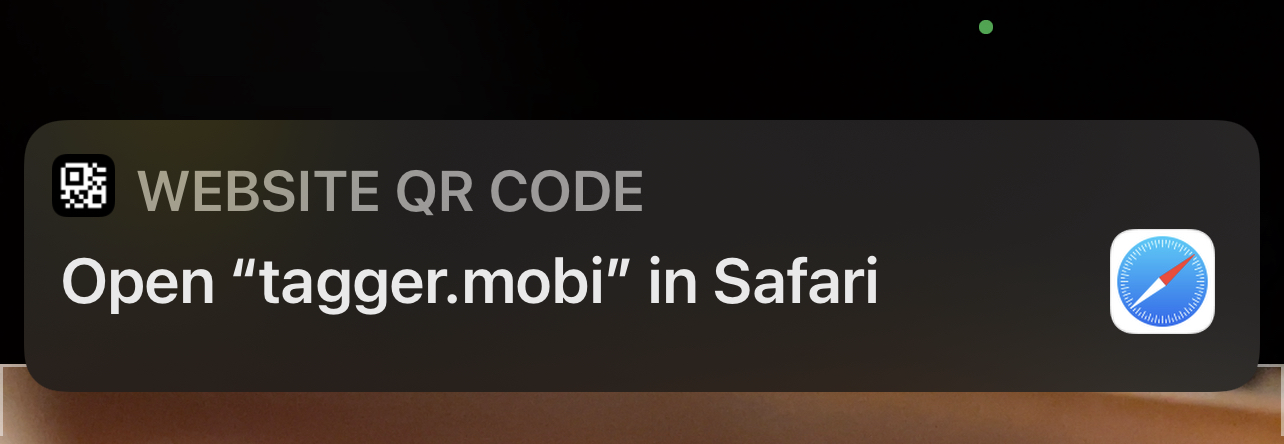
The Camera app on iOS devices supports scanning QR Codes. Simply launch the camera app and point it at at Tagger Tag.
A prompt should appear asking if you want to open Tagger.mobi. Click on the prompt to open the Tag.
# Using Chrome
NOTE
A device with a camera is required to read a Tagger tag.
The Chrome web browser on most platforms has a built-in QR code scanner. Whenever the keyboard is visible, the Scan Code icon will appear in the upper left corner, next to the microphone.


Clicking on the Scan Code icon will bring up a viewfinder window. Point the camera at a Tagger Tag and follow the URL.
# Using an App
NOTE
A device with a camera is required to read a Tagger tag.
Any app compatible with your device that can recognize a URL in a QR Code should work for Tagger.
# The Tagger Tag
The Tagger Tag is designed to be easy to read, even on a small device.
If you scan a tag and receive a message like the one below, you may have a security problem. The owner of a tag can limit who can read that tag and if they have done so, this error will appear:
ERROR
Log in and scan the tag again.
Since you were not logged in when you scanned the tag, we were unable to determine if you should have access or not. Once you log in, you may or may not be able to read any information off the tag, depending on how the owner has set permissions.
LOG IN
Without logging in, you can only read public tags and cannot write any data. Logging in is free and easy, just click the login button in the top right corner of the Tagger app.
# Tag Name
When you first scan an unused tag, you will see seomthing like this:
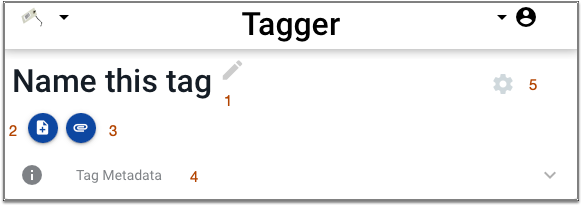
- The tag name. If the tag has not yet been named and you own the tag, you will see the pencil. Click on the pencil to name your tag.
- The button to add a note to your tag. You will only see this button if you have write access to the tag.
- The button to add an attachment to the tag. You will only see this button if you have write access to the tag.
- Tag metadata such as the date it was created. You will only see the tag metadata if you have write access to the tag.
- The settings gear. Click on this button to set the permissions for this tag.
NAME YOUR TAGS
Tags are referred to by their name. Since you will likely have many tags, it is important to give them descriptive names.
# The Notes Section
The notes section displays text notes that have been added to the tag.
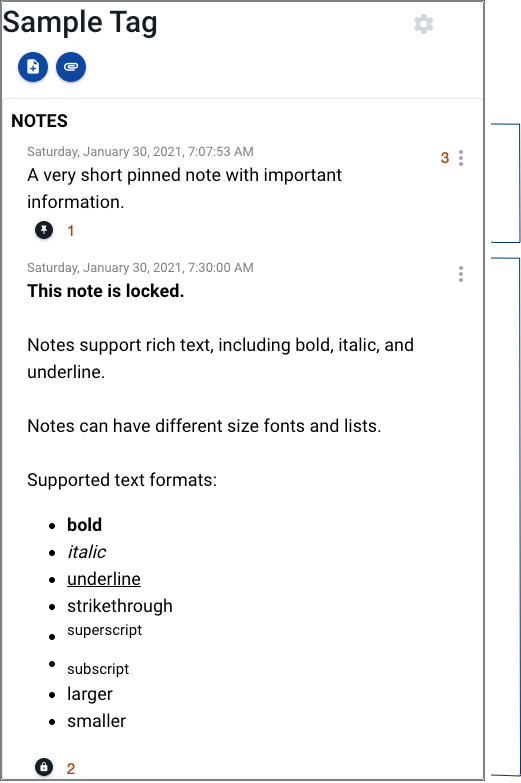
The tag in the pictures has two notes. The first note is just one sentance. The second note is longer and illustrates some of the features of notes.
The push pin icon indicates this note is pinned. In a tag with multiple notes, it is not uncommon for some notes to be more important than the others. A note can be pinned so it will always show first in the list. Notes are sorted with the most recently modified note first. A pinned note always appears before any unpinned notes. If there are multiple pinned notes, they are sorted by modification date.
The lock icon indicates this note has been locked by the tag owner. A note that is locked cannot be edited until the owner unlocks it.
The three vertical buttons can be clicked to reveal an actions menu. The actions menu is only available if you are logged in and have write access to the tag. The three actions available are pin, lock, and delete.
NOTE FORMATTING
The tools available for formatting notes will vary depending on the size of your screen. The larger your screen, the more formatting tools that can be displayed. If you don't see some formatting tools you need, try editing the note on a desktop computer.
LOCKED NOTES
If you click on a note that has been locked by the tag owner, a warning will appear at the bottom of the screen. The tag owner can unlock a note by clicking on the note actions button and toggling the lock.
# The Photos Section
The photos section displays images that have been added to the tag.

Each photo can have an optional title (1) and description (2).
To view a larger version of the image, click on the thumbnail.
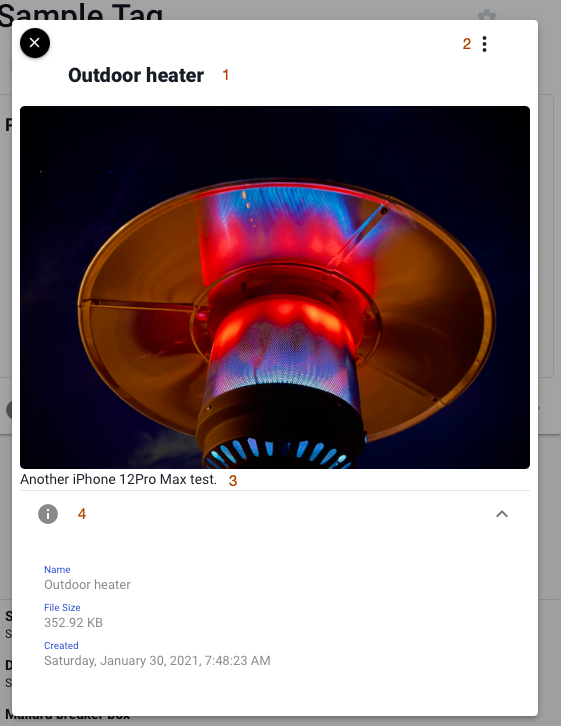
The larger image includes the image, the optional title (1), an action menu that is only visible if you have write permission to the tag (2), the optional dsecription (3), and some details about the photo (4).
# The Videos Section
The videos section displays videos that have been added to the tag.

Hover over a video to display the player controls that allow you to play, pause, scrub, mute, adjust the volume and change the playback speed.
The vertical dots button can be clicked to edit the name and description of the video.
If a description has been added to the video, hover on the blue info icon to see it.
# The Recordings Section
The recordings section allows playback of audio recordings that have been added to the tag.

Hover over a recording to display the description of the recording, if any.
The vertical dots button can be clicked to edit the name and description of the recording if you have permission to do so.
AUDIO FORMATS
Only MP3 format audio files are supported to maintain compatibility with as many browsers as possible.
# The Files Section
The files section supports uploading arbitrary files to the tag. While almost any file can be uploaded, these files are mostly commonly PDF or other types of documents. Tagger is not designed as a content distribution system, so be careful uploading very large files or files that may be downloaded many times.
FILES CAN BE DANGEROUS
Be careful downloading files if you are not certain of their origin and content.
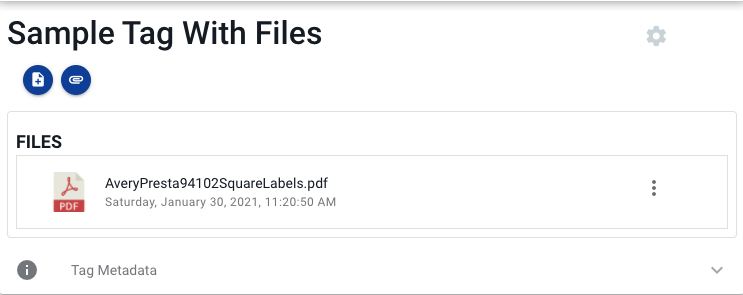
Clicking on a file will attempt to open the file in the browser.
Clicking on the actions button (the three vertical dots) on the right will display the actions menu. Click on the download icon to download the file.
If the file has a description, hovering over the file will display the description.