
# Adding Data
NOTE
You must have write permission in order to add any data to a tag.
# Naming a Tag
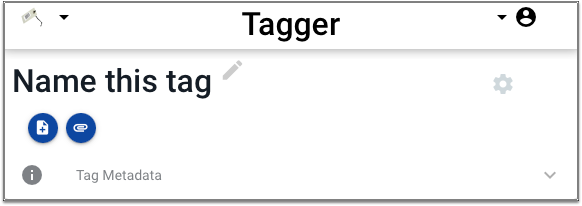
If you are the owner of a tag and the name of the tag has not been set, there will be a pencil icon displayed beside the name. Click on the pencil icon to name the tag.
TIP
Even if the tag already has a name, if you are the tag owner you can click on the name to change it, but the pencil icon will not be there as a hint that you should name the tag.
# Tag Settings
If you are the tag owner, clicking on the settings gear will display the settings for this tag.
NOTE
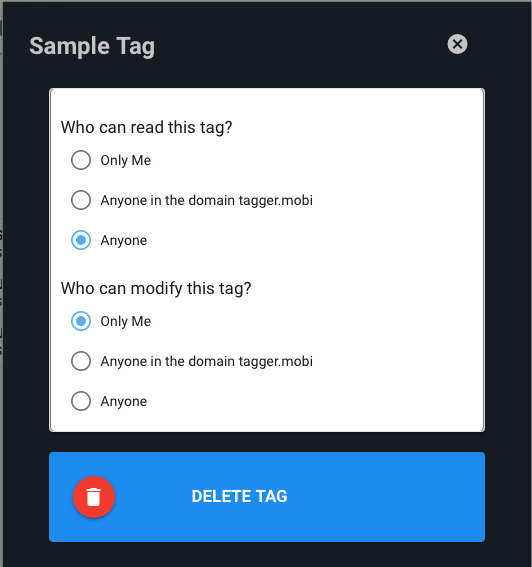
When a new tag is created, the permissions are set to public read and private write. Anyone can read the tag but only the owner can write to it.
The only settings currently configurable are permissions. There are three levels of permissions for each tag. Permission to read the tag and to write the tag can be set independently to the following three levels:
Anyone
Selecting Anyone means that anyone can perform the action being configured - reading the tag or writing the tag. Selecting Anyone allows the tag to be read without the user first logging in. Even if Anyone is selected for write permission, the user still has to log in.
Anyone in the domain
Anyone in the domain means anyone logged in with an email address in the same domain as the tag owner. For example, if I am logged in with an email address that ends in @tagger.mobi and I selected Anyone in the domain for read privileges, then only users who have logged in using an email address that ends in @tagger.mobi will be able to read that tag.
Only Me
If Only Me is selected for either read or write permissions, then only the tag owner can perform that action.
NOTE
The read permission must be equal to or less restrictive than the write permission. For example, if the write permission is set to Anyone, then read permission must also be set to Anyone. If the write permission is set to Anyone in the domain, then the read permission can be either Anyone or Anyone in the domain.
Clicking the trash can icon will present a dialog box to confirm you wish to delete the tag. Deleting tag removes it and all of its associated data, including attachments, from the local device and from the cloud database.
WARNING
Deleting a tag is permanent and cannot be undone!
# Attaching Items
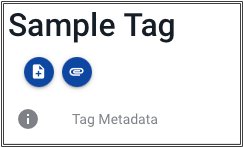
The two buttons right below the tag name create data on the tag. The first button creates a note on the tag, the second attaches different types of files to the tag - including Photos, Videos, Recordings, and Files.
# Notes

Clicking on the first button will display a text editor.
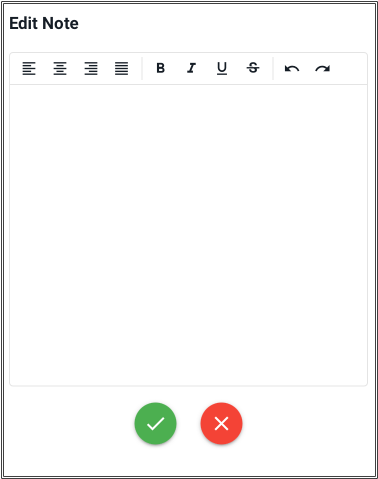
The note editor supports most common formatting options including paragraph alignment and text style.
FORMATTING
The formatting tools available vary depending on the size of the screen. If you need formatting options that aren't available on your mobile device, try editing the note on a desktop computer.
After entering and formatting the text of the note, click on the green check to save it or the red X to cancel.
# Note Actions
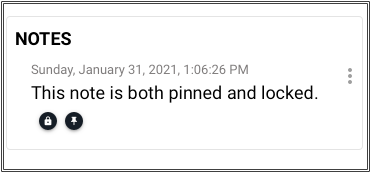
Click on the actions button - the three vertical dots - to show the three actions available for note: Lock, Pin, and Delete.
Click the padlock to toggle the lock status of the note. A locked note cannot be edited and can only be unlocked by the tag owner.
Click the pin icon to toggle the pin status of the note. A pinned note will always appear first in the list of notes. If there is more than one pinned note, the are sorted with the most recently modified notes first.
Click the delete icon to delete the note.
WARNING
Deleting a note is permanent and cannot be undone.
A note that is locked will display a padlock icon. A note that is pinned will display a pushpin icon.
# Attaching Files

The process for attaching files depends on the platform. On a desktop computer, click on the Attach File button and choose the file you wish to attach. The system will automatically detect the type of file and put it in the correct section.
But on an iOS device, you may see something like this:
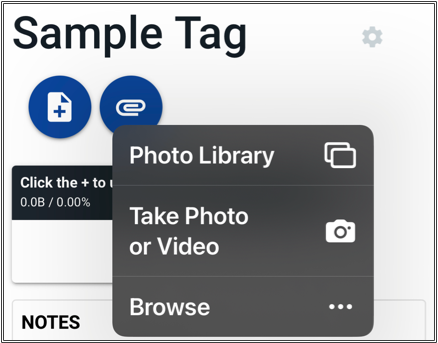
Click the top row to browse the photo library and select a photo to insert into the Tag. Click the middle row to launch the Camera app and take a photo or video to insert into the Tag. Click the bottom row to launch a file browser and navigate to a file to attach to the Tag.
# Images
Images are displayed as thumbnails in a grid layout. The title for the image, if any, is displayed on top of the image. If the image does not have a title, the file name is shown. If a description has been set for the image, it is displayed below the thumbnail. Click on a thumbnail to show a larger version.
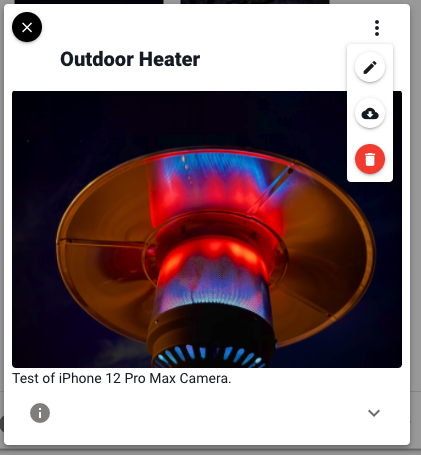
Click on the actions button, the three vertical dots, to show the actions available for an image. The three actions are:
- Edit name and description.
- Download
- Delete
Click on the pencil icon to edit the optional name and description for the photo.
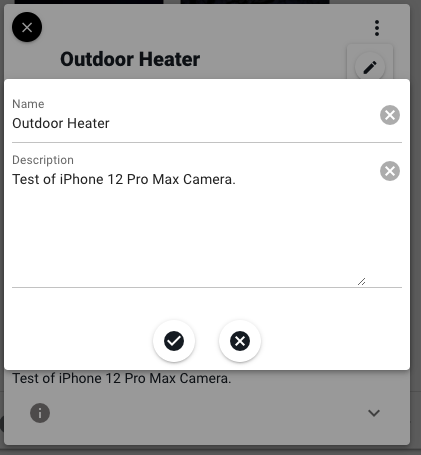
Click the check mark to save changes or the X to cancel editing the name and description.
If the name has been edited, it will be displayed above the thumbnail. If the description has been edited, it will be displayed below the thumbnail.
# Videos

Videos are handled almost identically to photos. Click on the actions button (the three vertical dots) to show the available actions. Click on the edit icon to edit the name and description of the video. Click on the download icon to download a copy of the video. Click on the delete button to delete the video.
The video interface supports start, stop, pause, scrubbing, and adjusting the volume. You can play the video in full screen mode and adjust the playback speed by clicking on the gears icon.
# Recordings
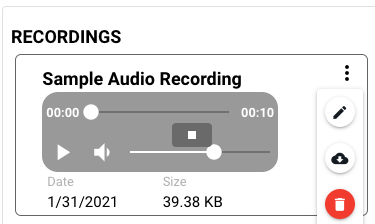
Recordings are handled like photos and videos. Click on the actions button (the three vertical dots) to show the available actions. Click on the edit icon to edit the name and description of the recording. Click on the download icon to download a copy of the recording. Click on the delete button to delete the recording.
The recording interface supports start, stop, pause, scrubbing, and adjusting the volume.
RECORDING AUDIO
Even when using a mobile device that has a microphone, recording directly within the Tagger app is not supported. Each platform has a variety of excellent recording tools, use whichever one you prefer and then use the file attachment button to insert an audio recording into a Tag.
# Files
Any file the browser will upload can be attached to a Tagger tag. Just click on the insert file button and browse to the file you want to insert.
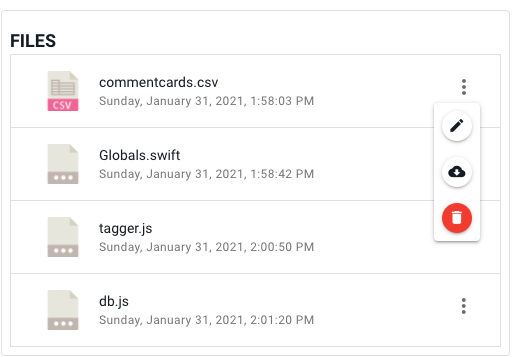
Click on the actions button to show the three actions available for files - edit name and description, download, and delete.
Click on the download button to download the file to your device.